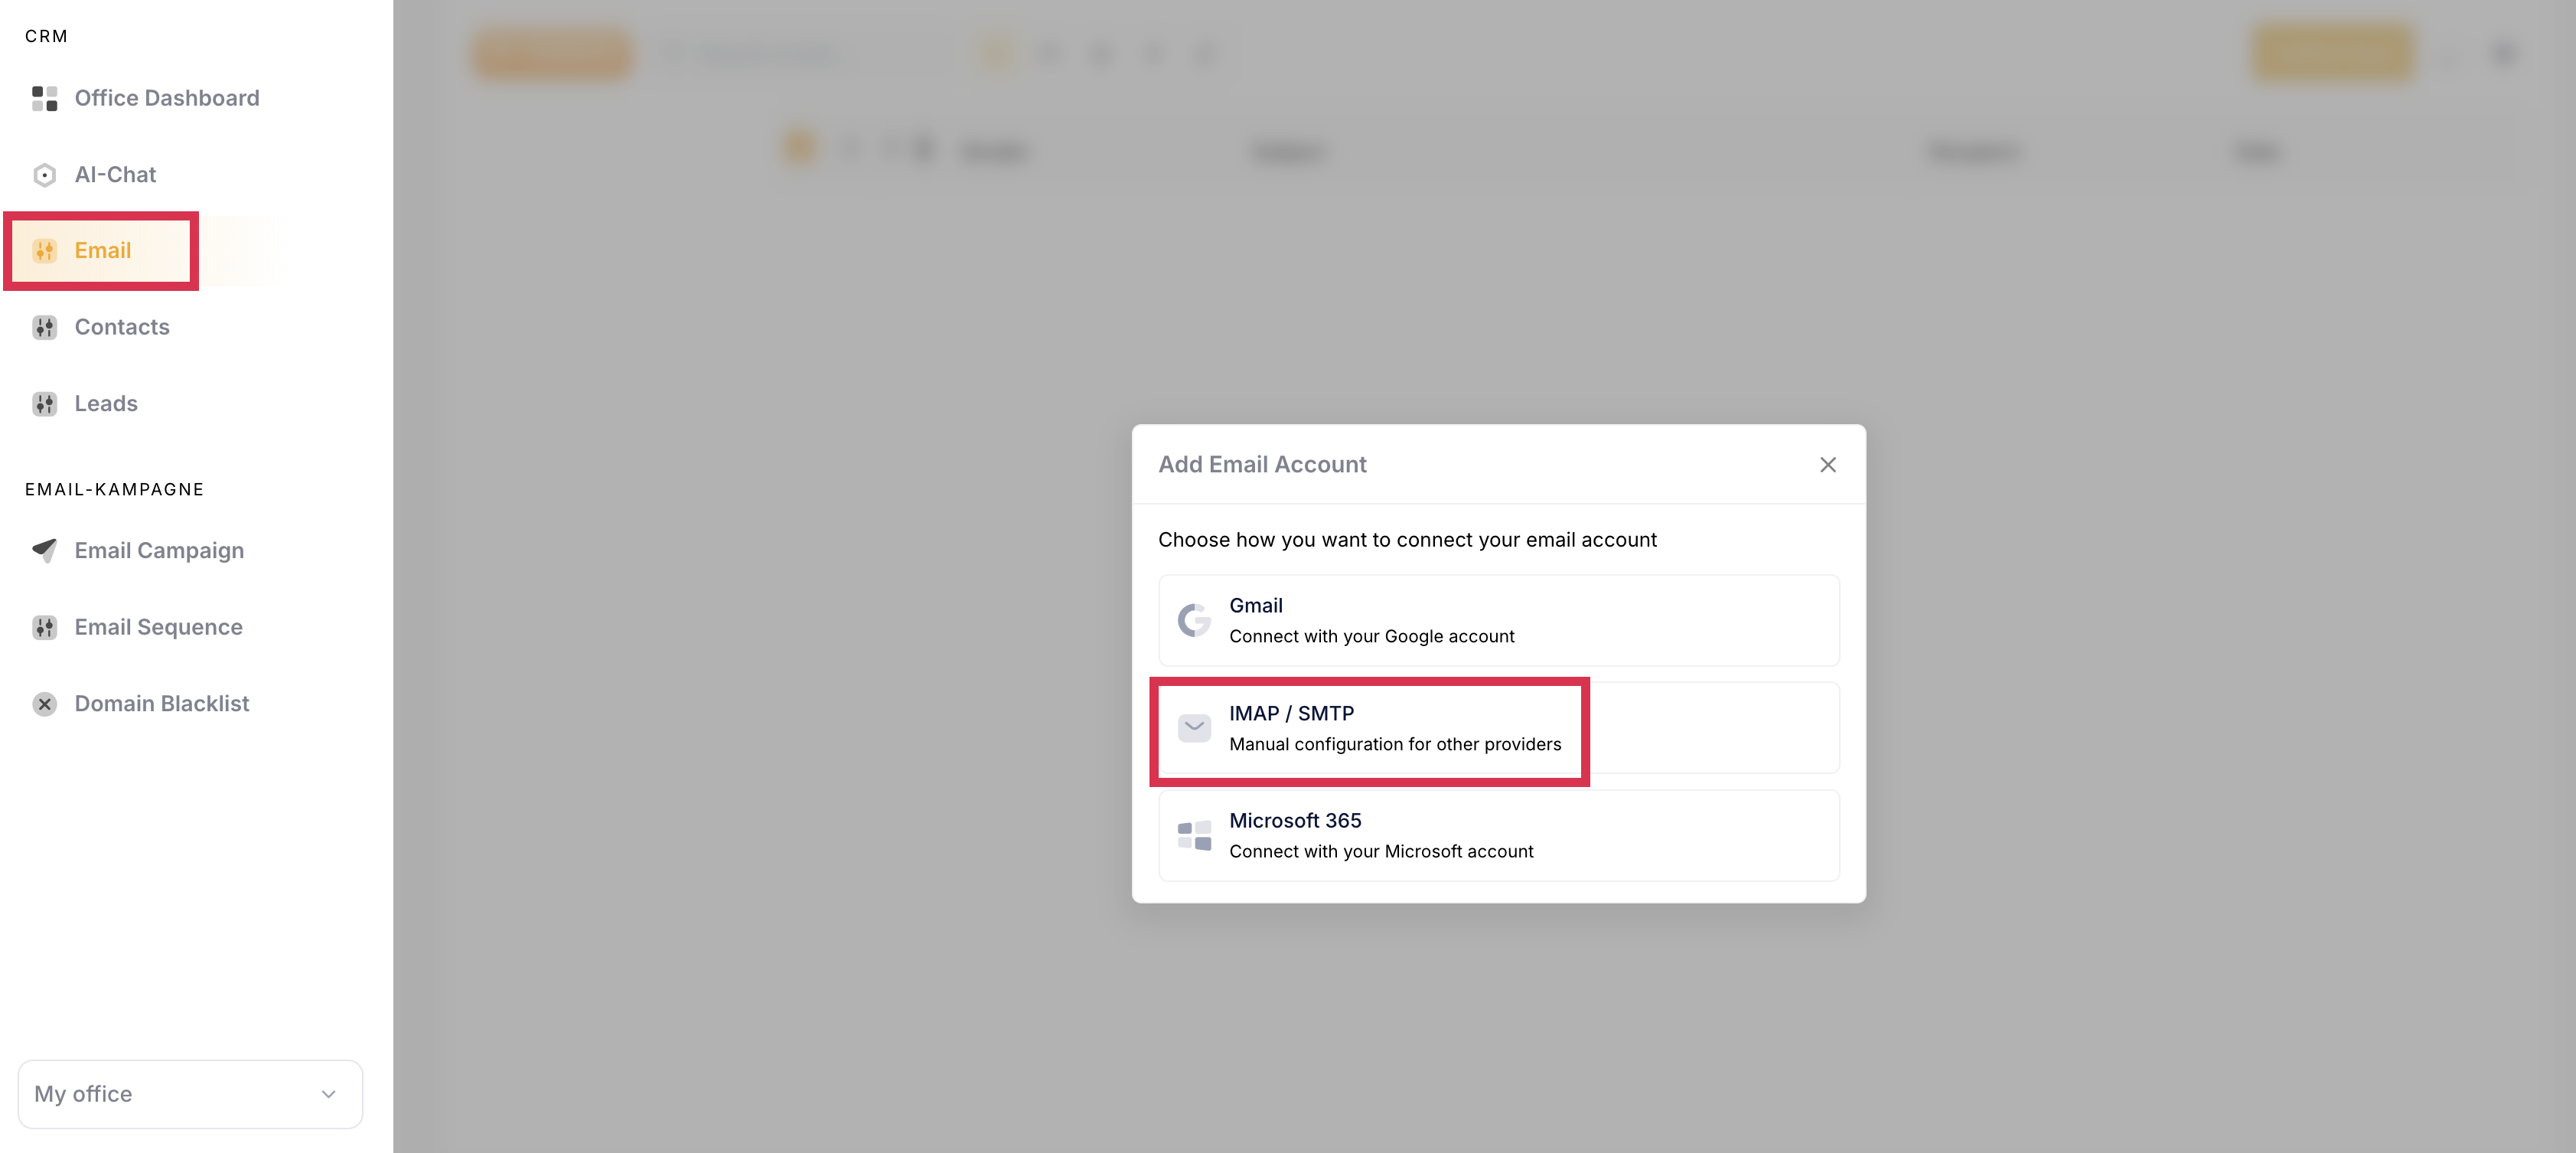
In your Wholix account, navigate to the “Email” module on the left side of your screen.
You will see a pop up appear on you screen
Click on “IMAP/SMTP”
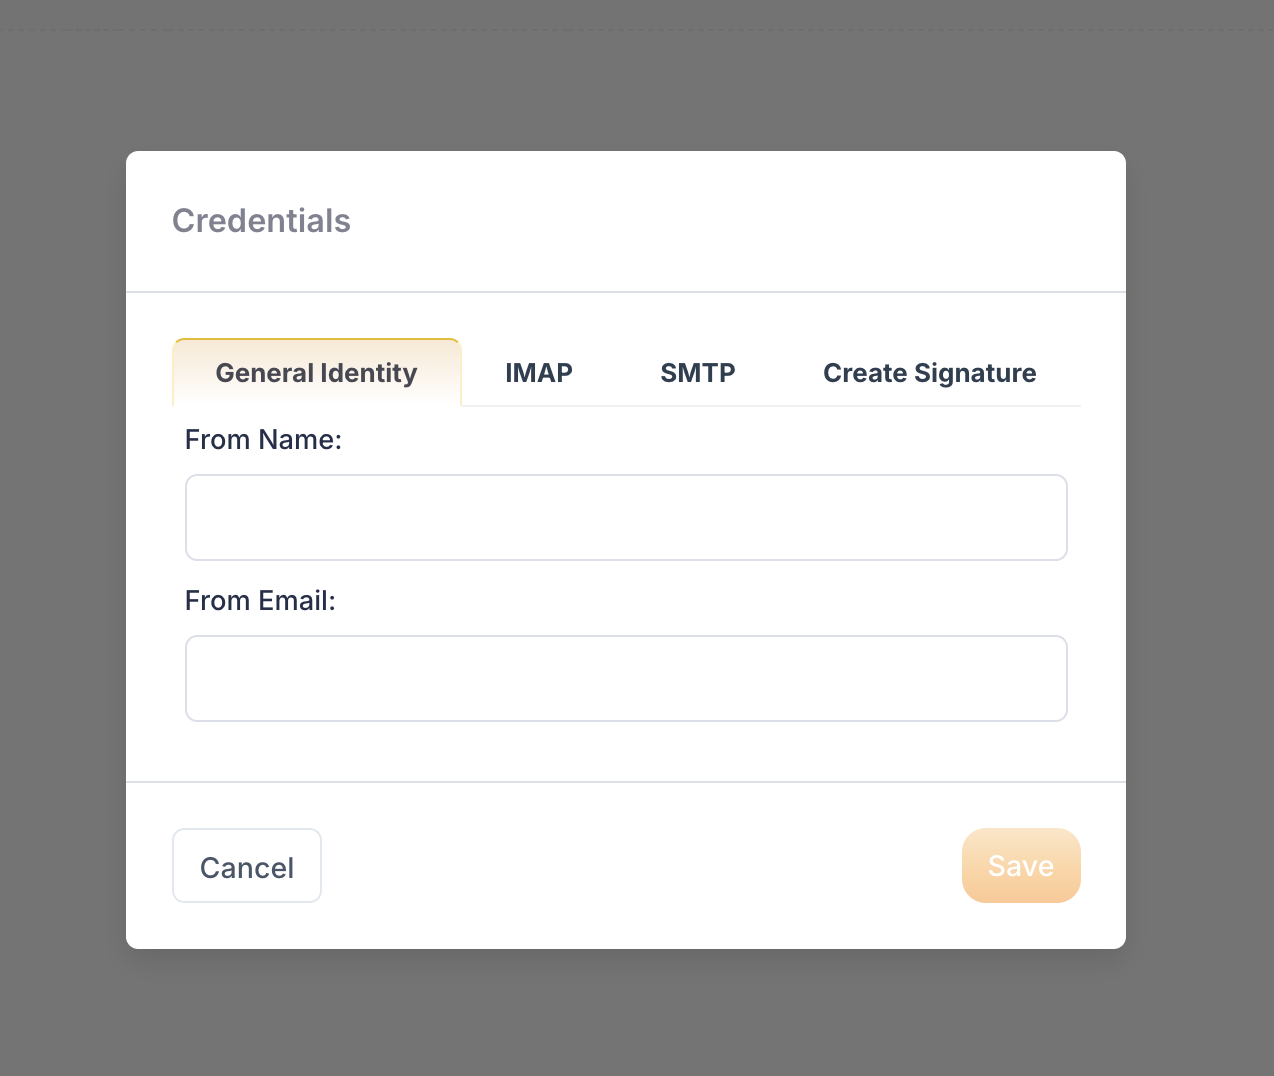
In the first text box “From Name”, type in the name under which you will be sending out the emails.
In the second text box “From Email”, type in the email account you want to connect.
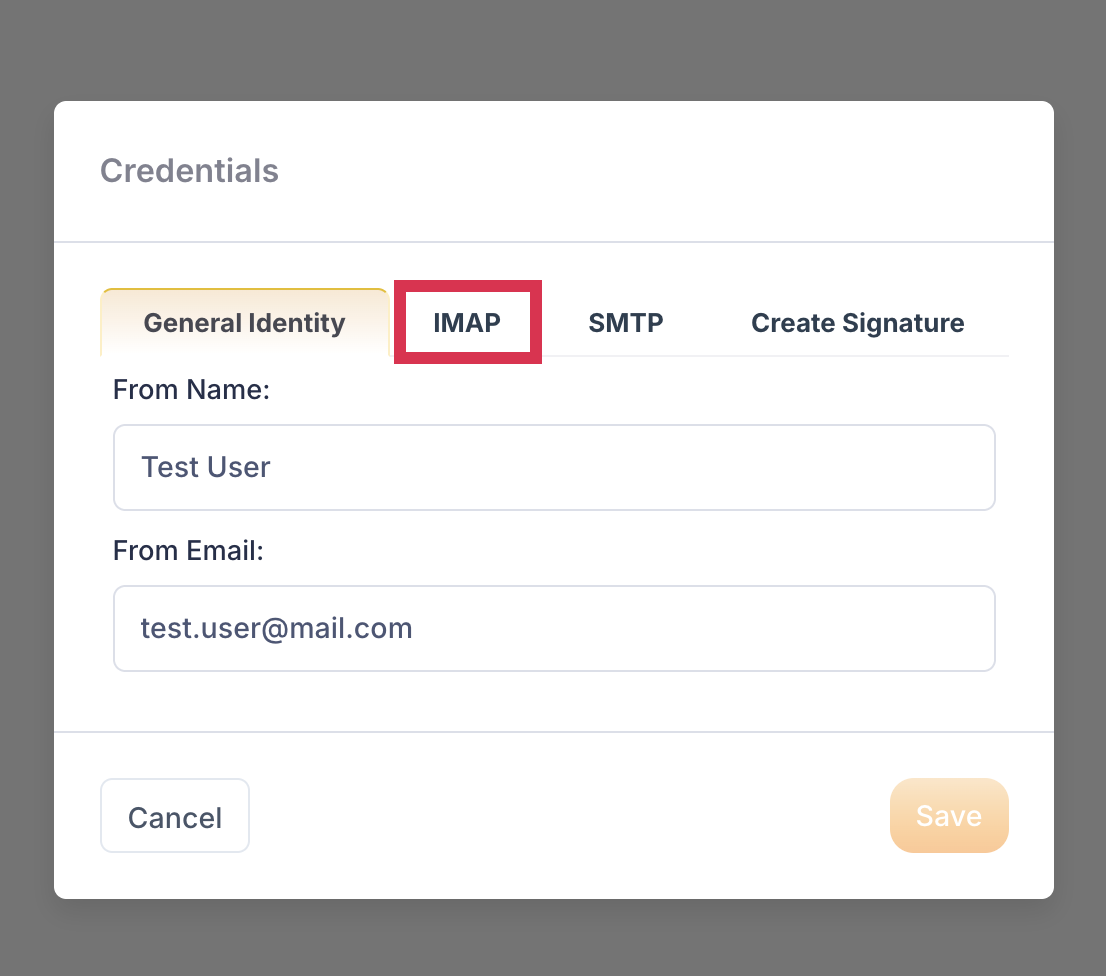
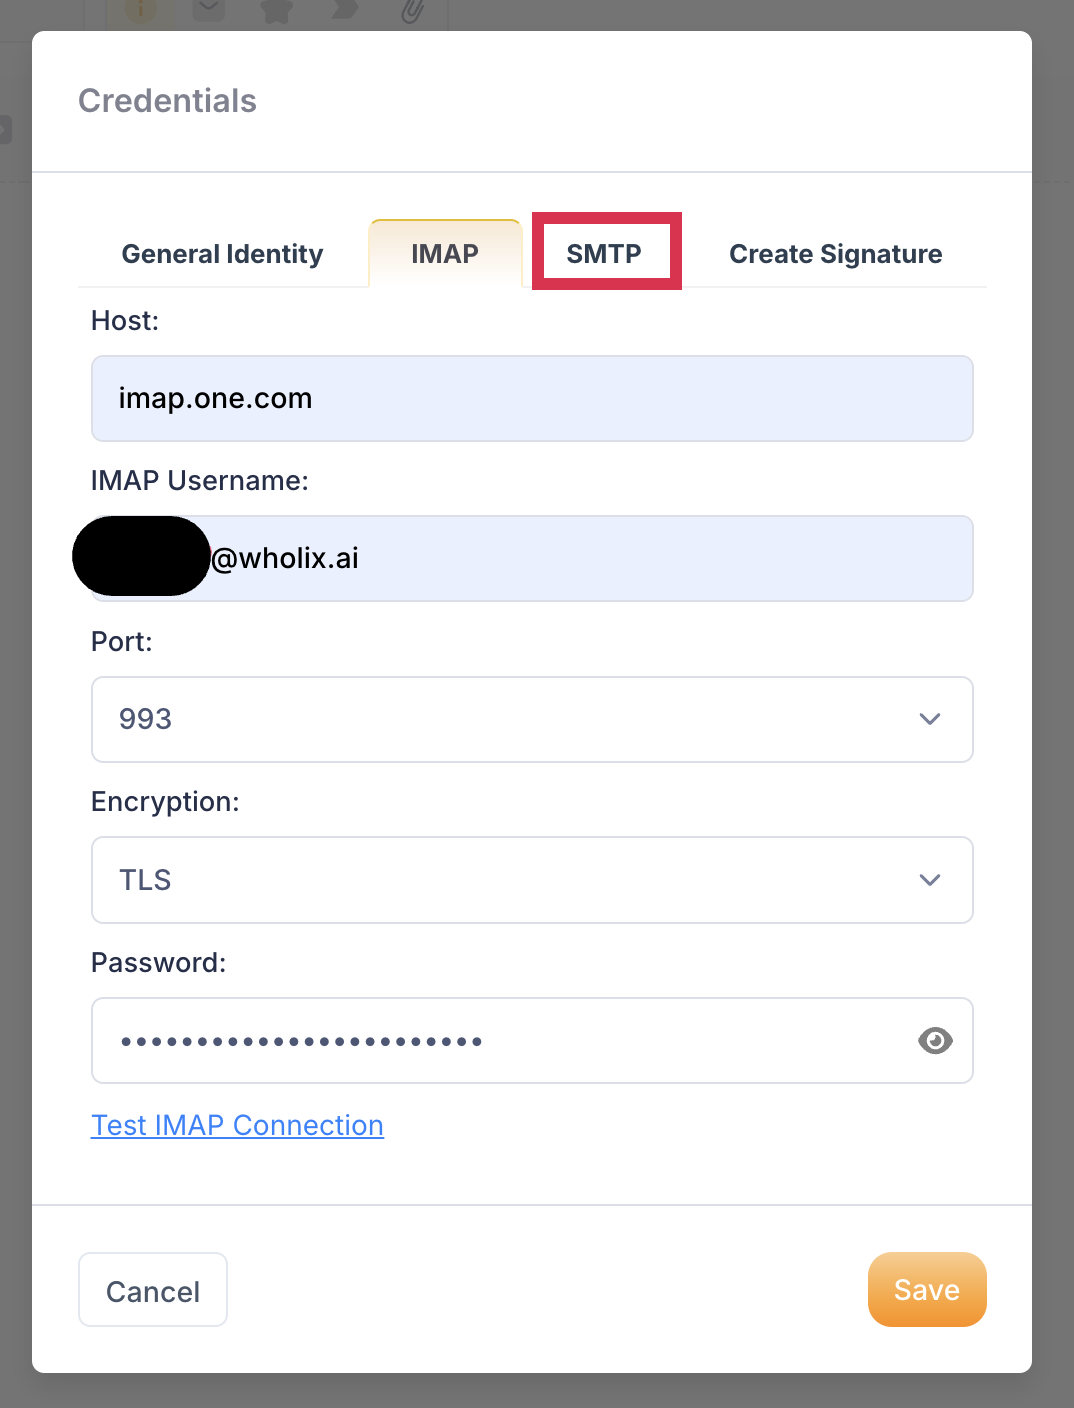
Navigate to the IMAP section at the top of the pop-up.
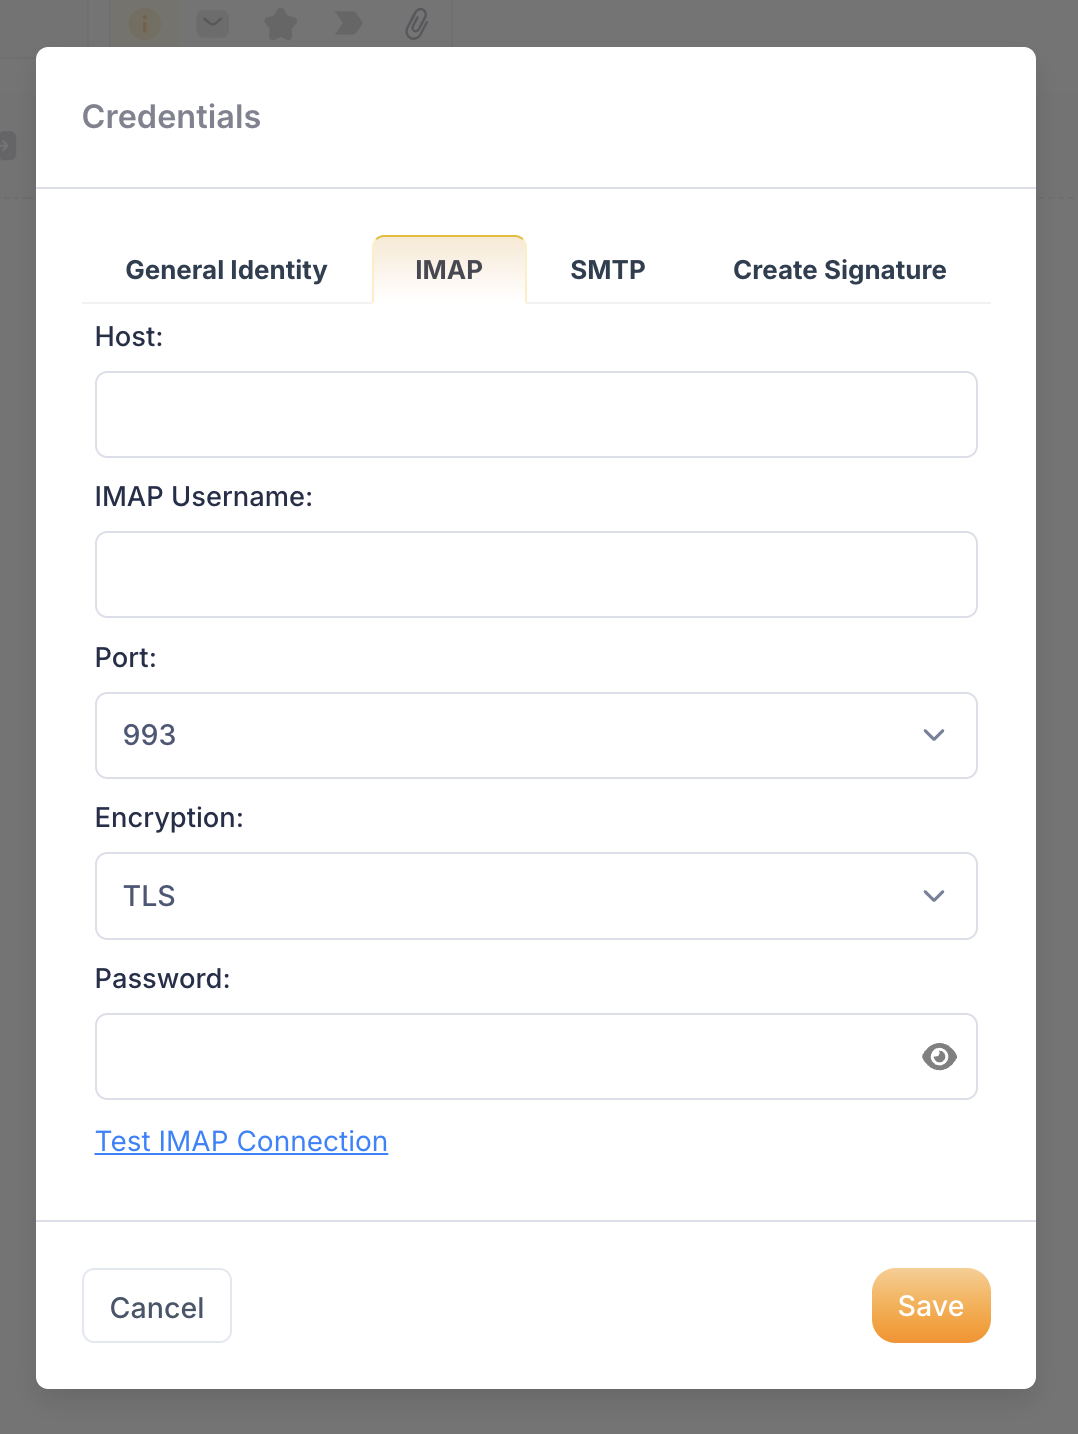
Host: Because the hostname depends entirely on your specific email provider, consult this list of popular IMAP servers. If your provider is not listed here, please look up the host name of your email provider on the internet.
Strato: imap.strato.de
Ionos: imap.ionos.com
Yahoo Mail: imap.mail.yahoo.com
IMAP Username: Enter the email you want to connect (same email as in the previous step)
Port & Encryption: please look up the settings of your email provider.
Password: Enter the password of your email account that you are trying to connect.
You can click on “Test IMAP Connection” and if it lights up green, than you have set up IMAP successfully.
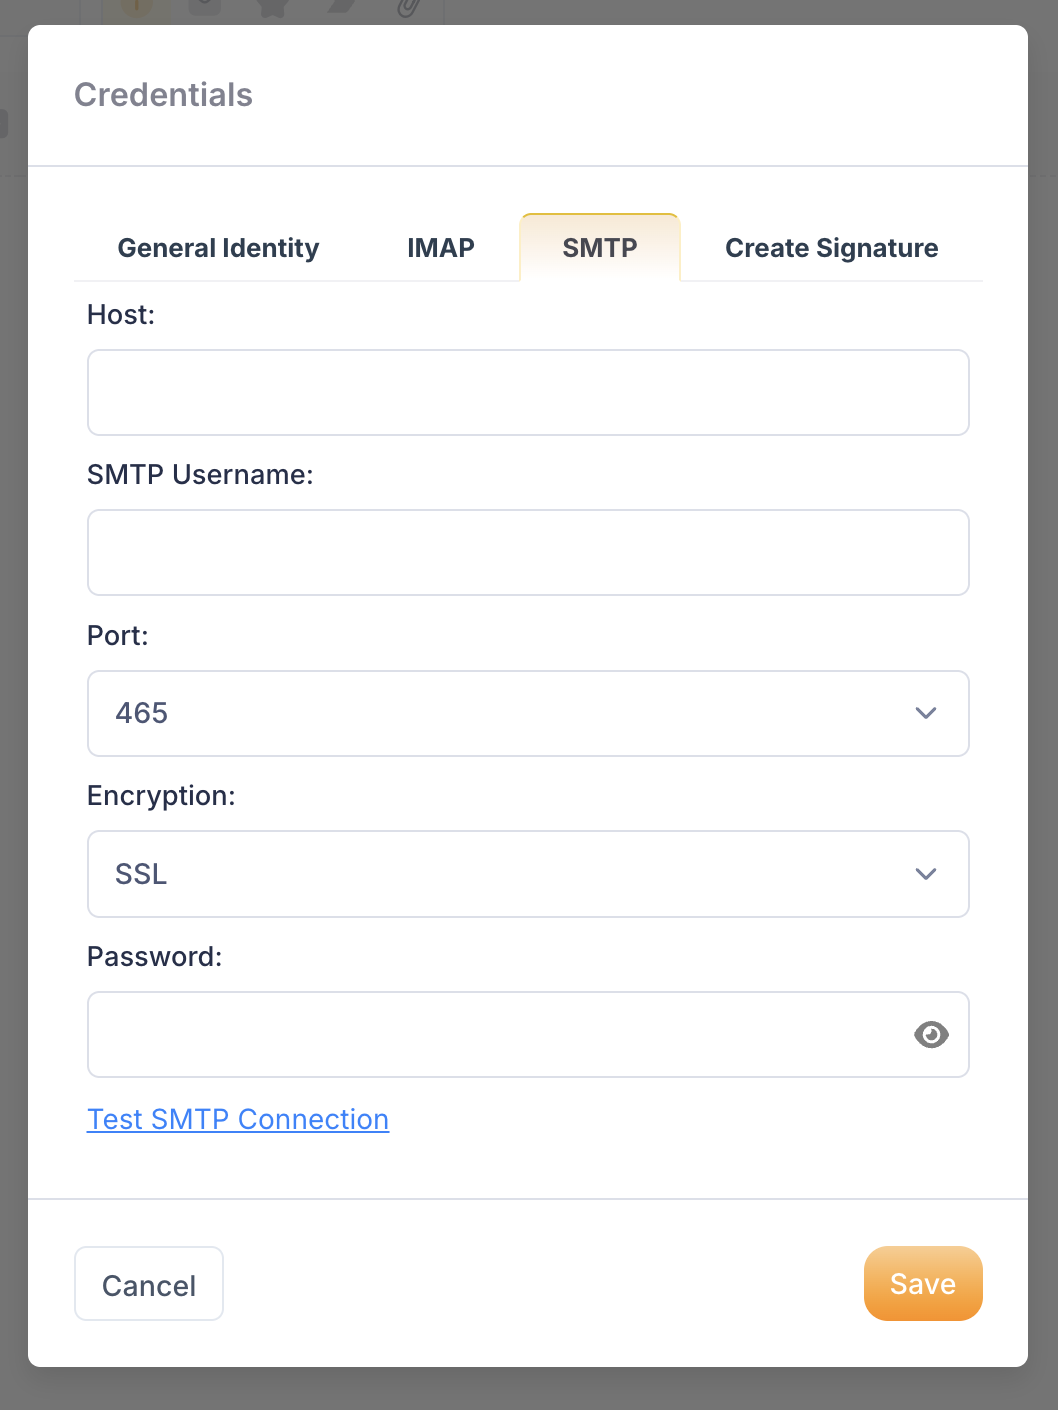
Navigate to the SMTP section at the top of the pop-up.
Host: Because the hostname depends entirely on your specific email provider, consult this list of popular IMAP servers. If your provider is not listed here, please look up the host name of your email provider on the internet.
Strato: smtp.strato.de
Ionos: smtp.ionos.com
SMTP Username: Enter the email you want to connect (same email as in the previous step)
Port & Encryption: please look up the settings of your email provider.
Password: Enter the password of your email account that you are trying to connect.
You can click on “Test SMTP Connection” and if it lights up green, than you have set up SMTP successfully.
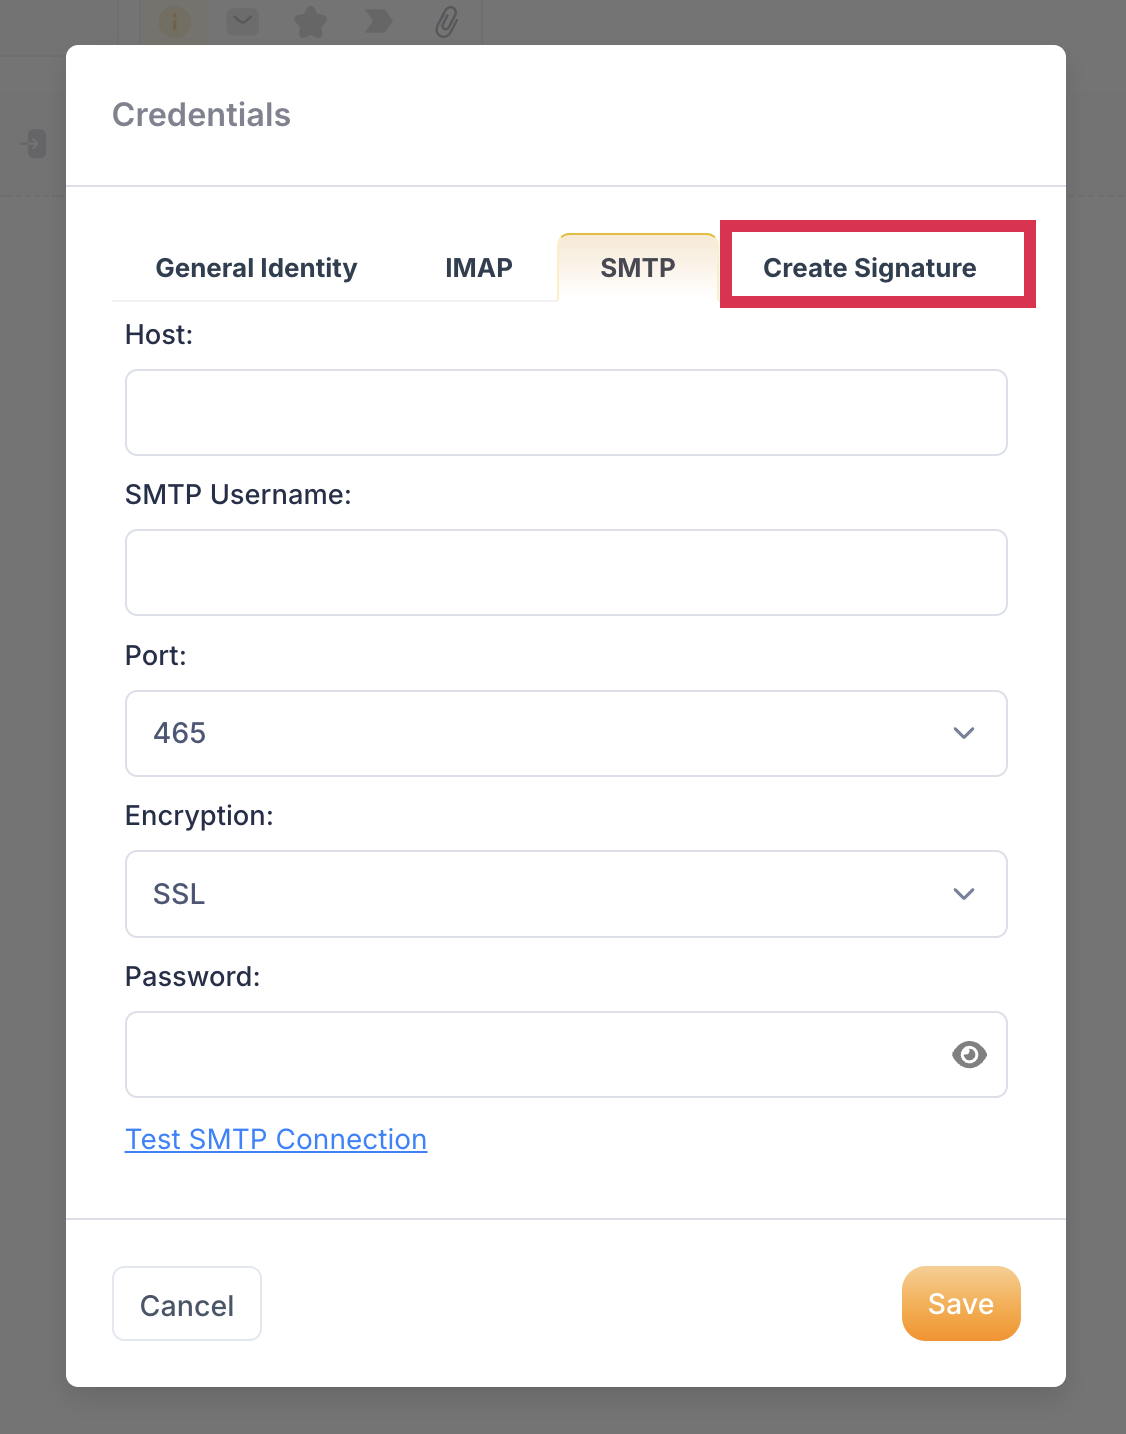
Navigate to the “Create Signature” section at the top of the pop-up.
You can add your personalized signature to the email
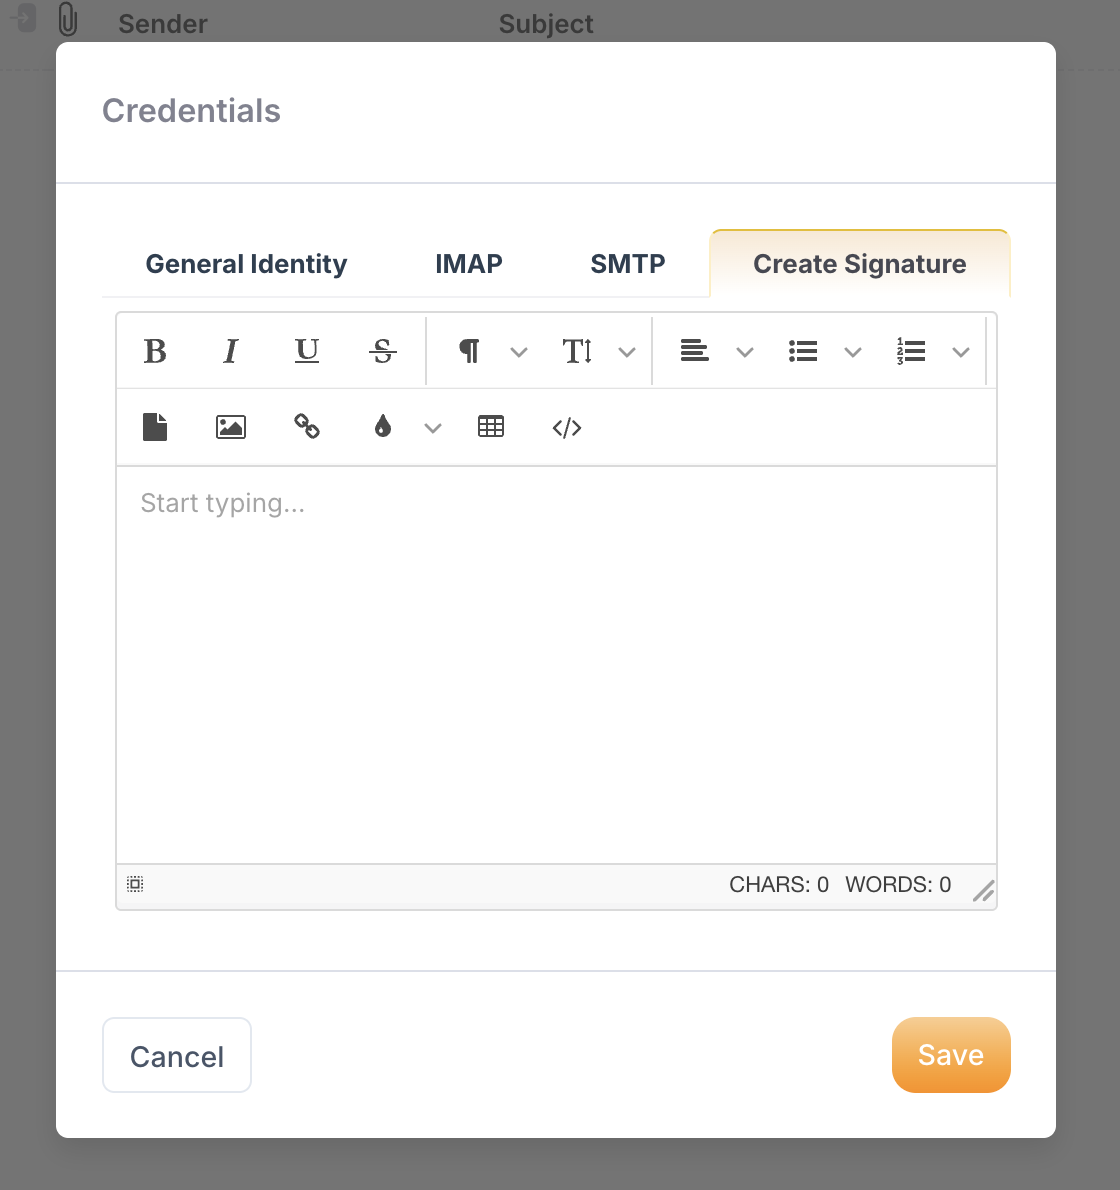
Click on “Save” at the bottom right corner
You will see that your email account has been connected successfully.
In the top right corner, you should see your email account.
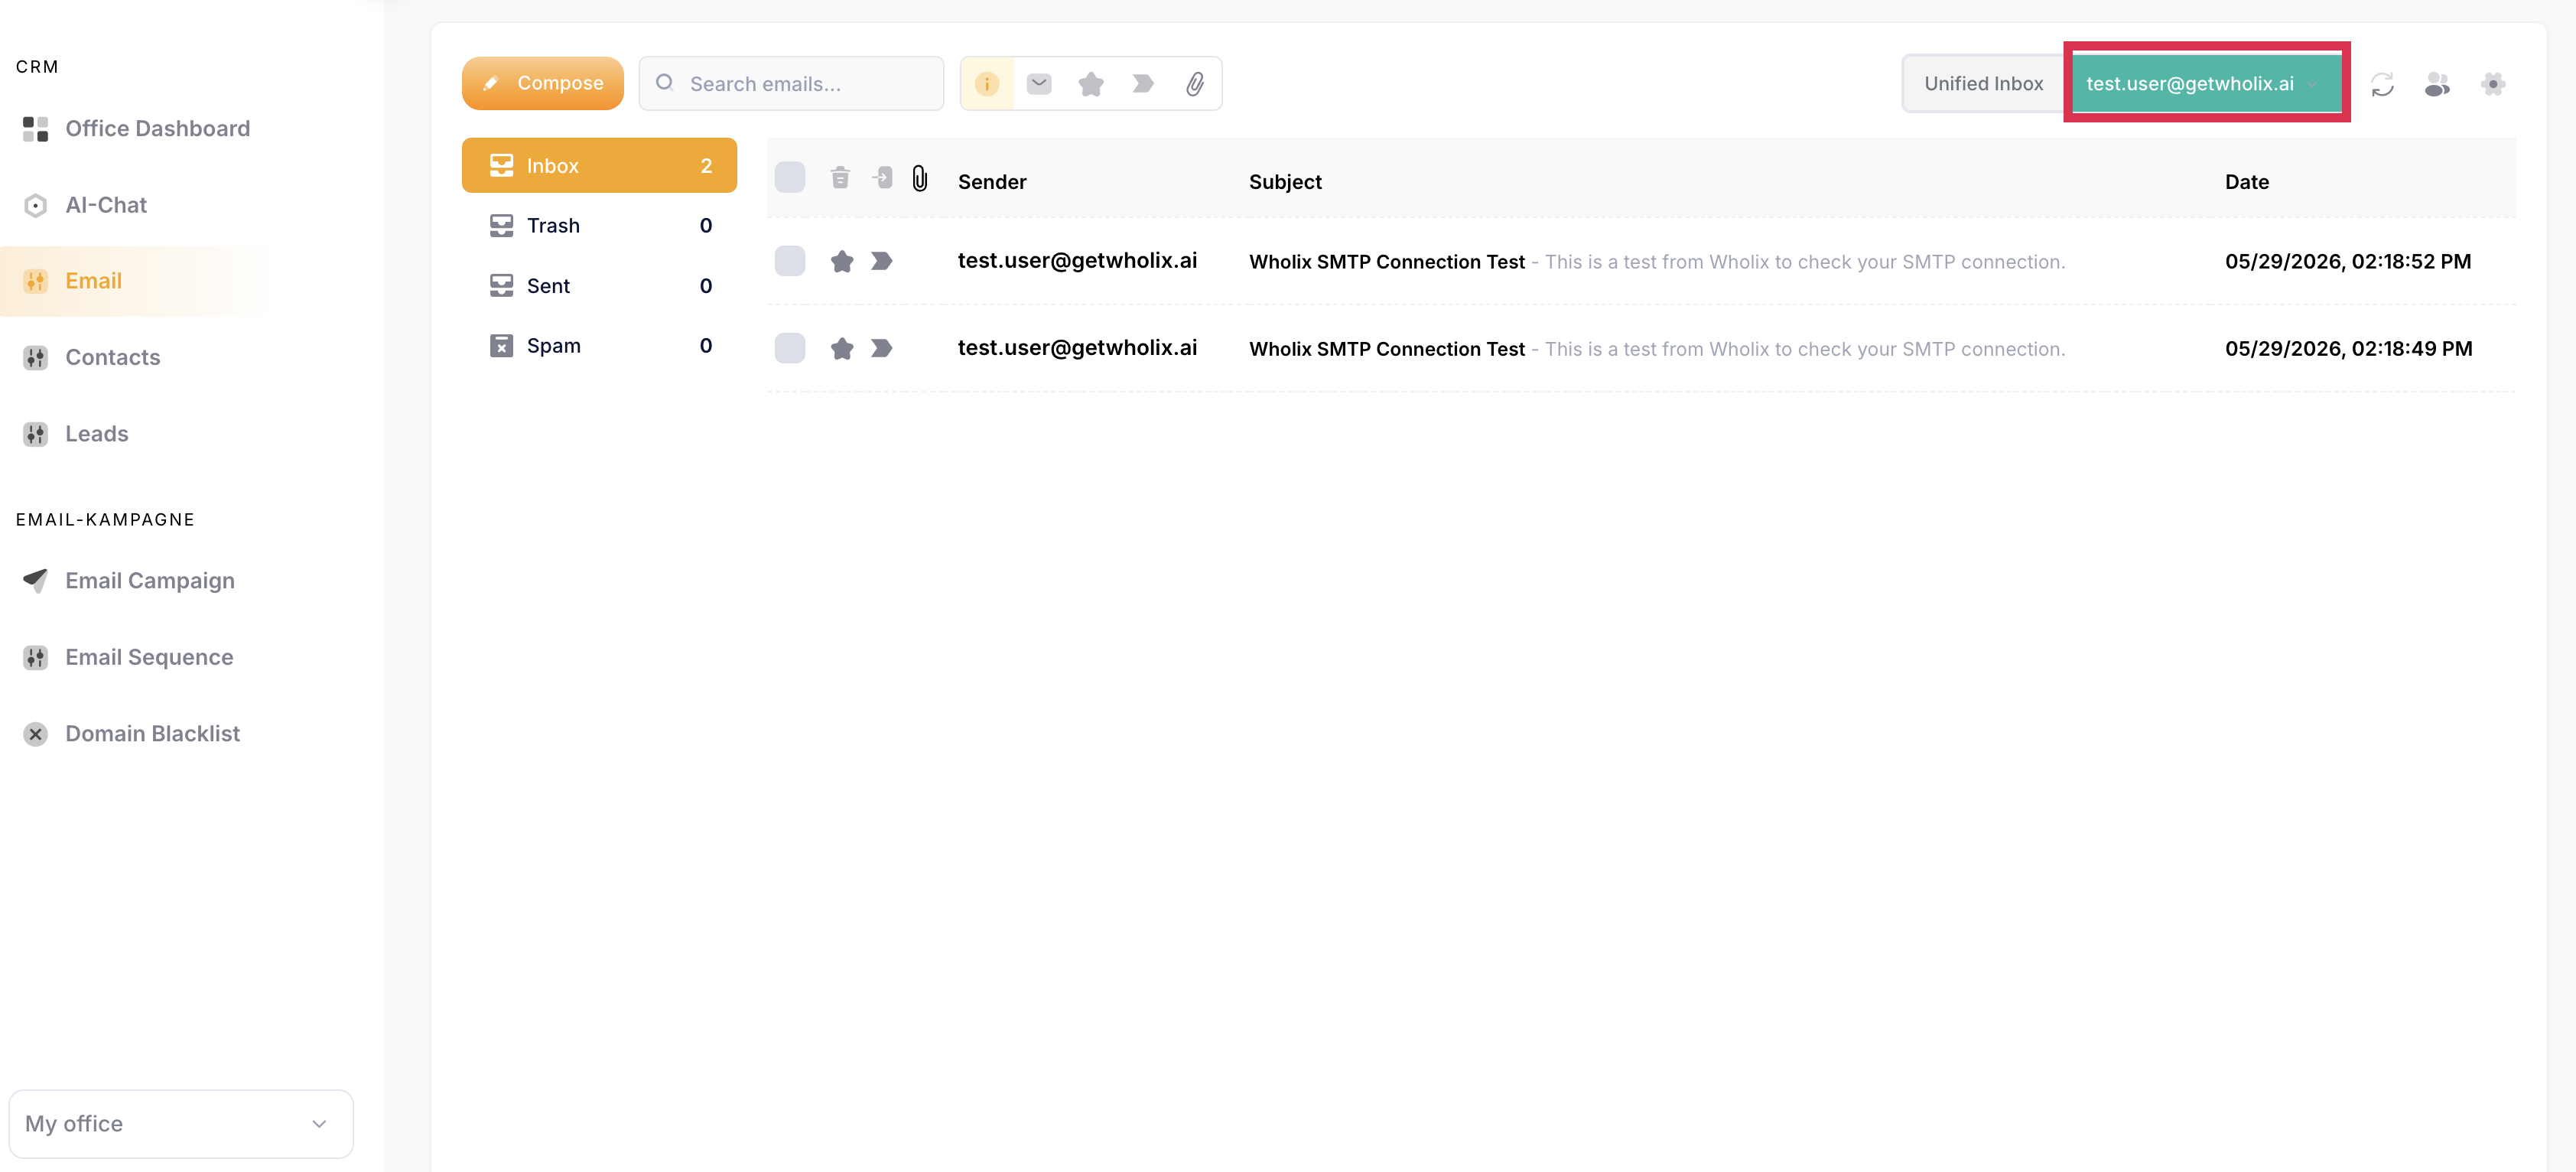
It will take a few minutes until your full email inbox is loaded and synchronized. You can refresh the page after a few minutes, and you should see your inbox.